Configure a build pipeline for ReactJS in Azure DevOps
I love to have full control of my code deployment and I love the classic way of doing deployments in Azure DevOps while keeping up to date with the new YAML spec for build pipelines.
One sweet thing about Azure DevOps is that it gives me that full control I need to make things happens according to my specs.
Just yesterday, configured a single build pipeline for a huge project (1 solution, many projects) setting different agent jobs and startup projects using MSBuild Arguments to set my target project per agent job and then publishing each of the artifacts to configure my release pipeline picking each artifact and releasing on-demand.
In this short article, I want to show how I configured my build pipeline for a ReactJS application — yes there is a NodeJS with ReactJS template in there. But because I have a .NET background, I kinda like to have that same feeling. So here we go.
For this, you need an Azure DevOps account (go to dev.azure.com) to follow through, and yes, you can have your source code In a repo of your choice. I decided to have mine in Azure DevOps.
After setting up all git related things and binding your remotes, go to the Pipelines area of your Azure DevOps Project. By default, it goes to the Builds pipeline sub-section.

After clicking on New pipeline, select, Azure Repos Git with the YAML tag — here you can connect to any other repo source you have).

Set the repo to get the code from.

What happens next is that Azure DevOps analyses your code to detect what could be best.

I select the starter pipeline template.
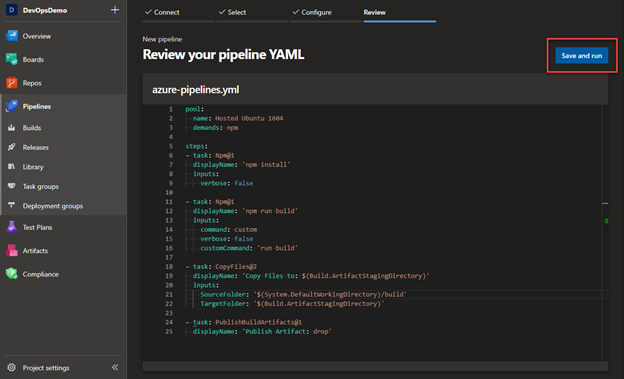
Then copy and paste this overwriting the existing code
pool:name: Hosted Ubuntu 1604demands: npmsteps:- task: Npm@1displayName: 'npm install'inputs:verbose: false- task: Npm@1displayName: 'npm run build'inputs:command: customverbose: falsecustomCommand: 'run build'- task: CopyFiles@2displayName: 'Copy Files to: $(Build.ArtifactStagingDirectory)'inputs:SourceFolder: '$(System.DefaultWorkingDirectory)/build'TargetFolder: '$(Build.ArtifactStagingDirectory)'- task: PublishBuildArtifacts@1displayName: 'Publish Artifact: drop'
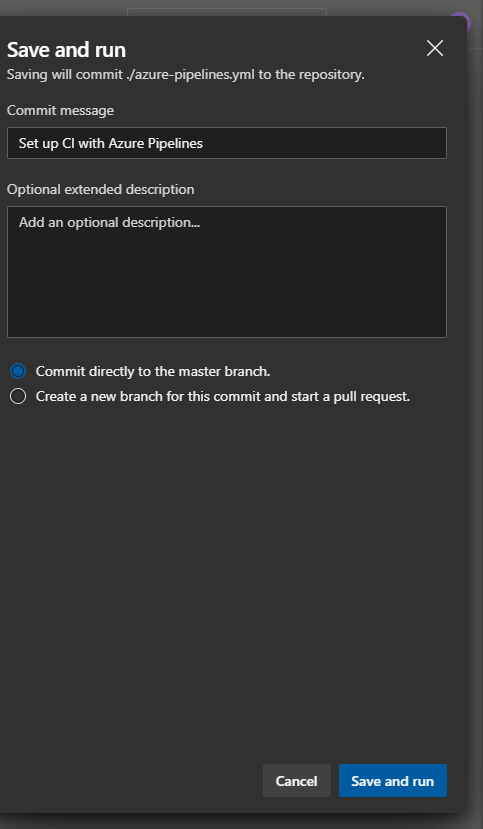
And click Save and Run
Apply your commit message and decide what branch to put it in.
I will use the default options. This goes on and starts the first build.
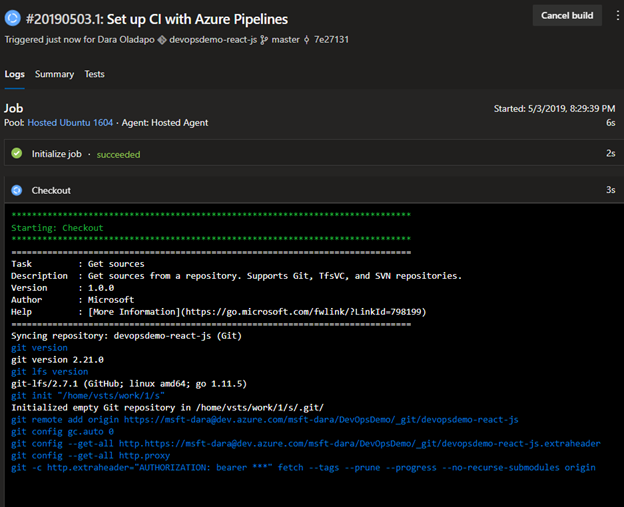
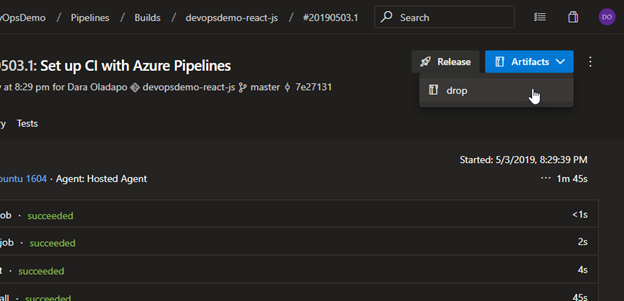
After some seconds (or minutes), your build should complete.
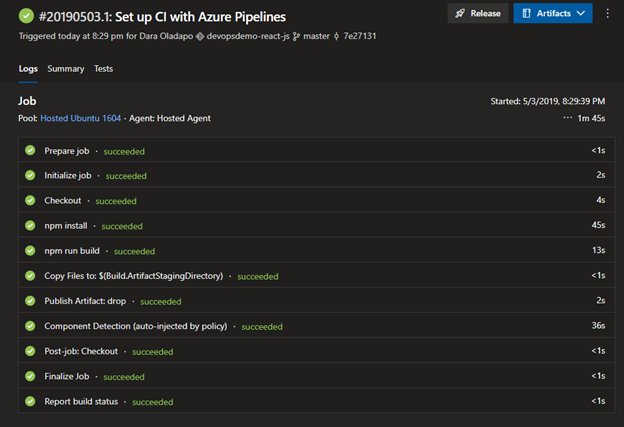
Build Succeeded.
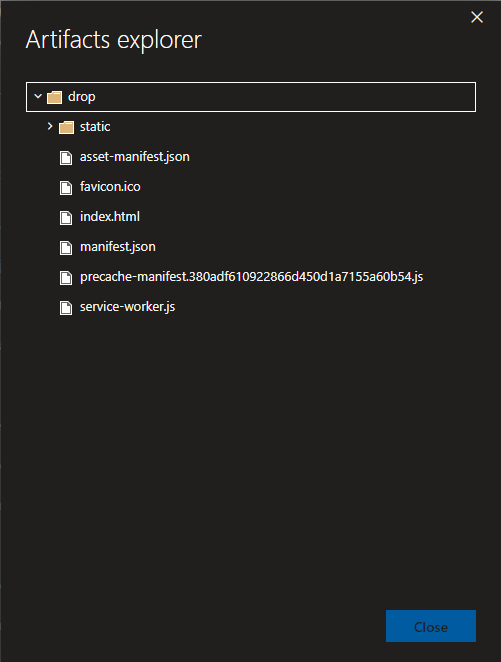
You can check the content of the deployment ready folder by clicking on Artifacts>drop
Next step would be to configure your release pipeline.
I hope this post helps you.